The following video shows how to install and manage existing WordPress instances using the wizard available in cPanel.
WordPress installation wizard
- Log in to Your cPanel account.
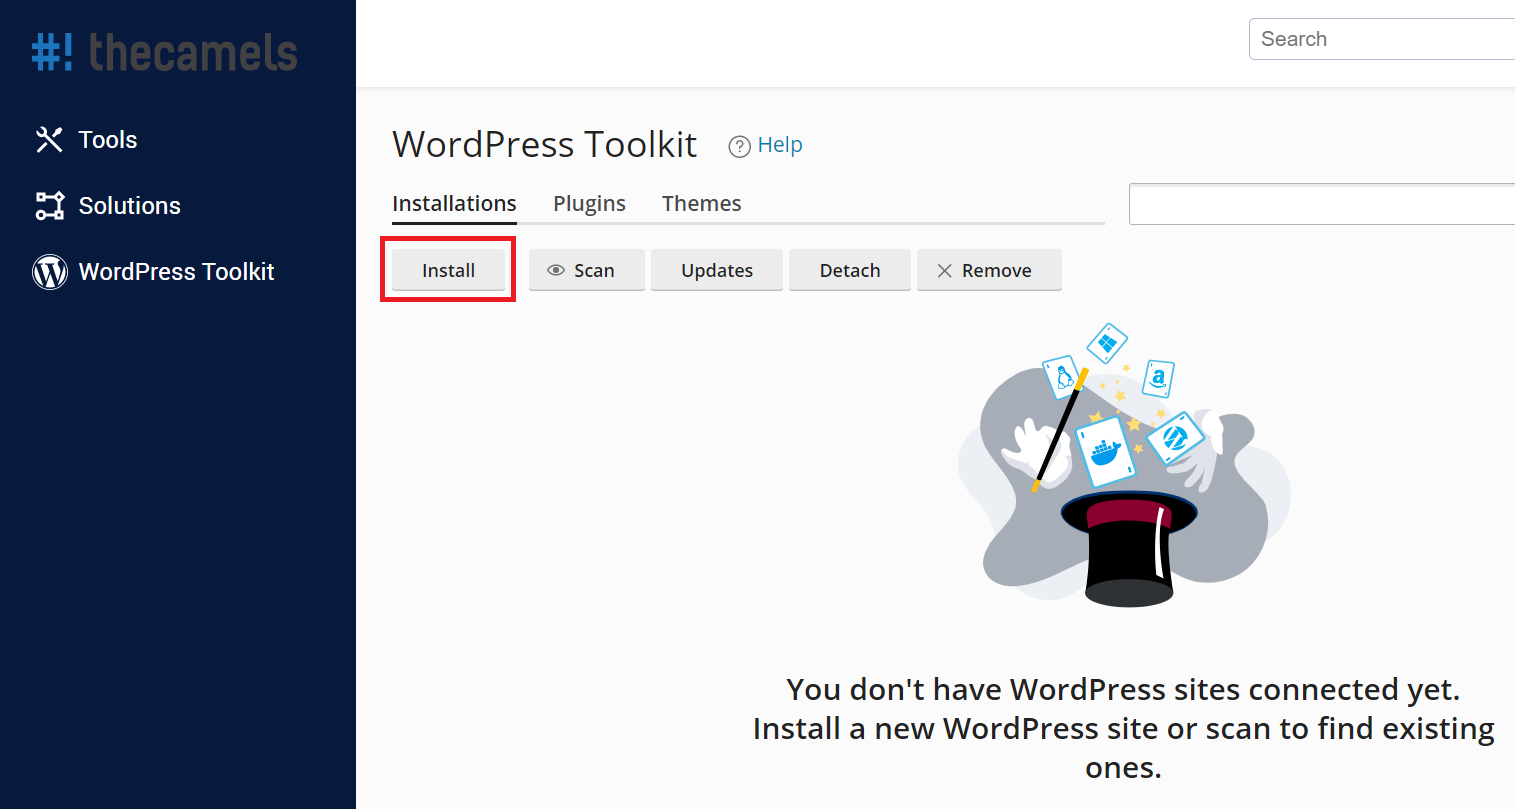
- In the Applications section, click on "WordPress Toolkit".

- On the new page, click on the "Install" tab.

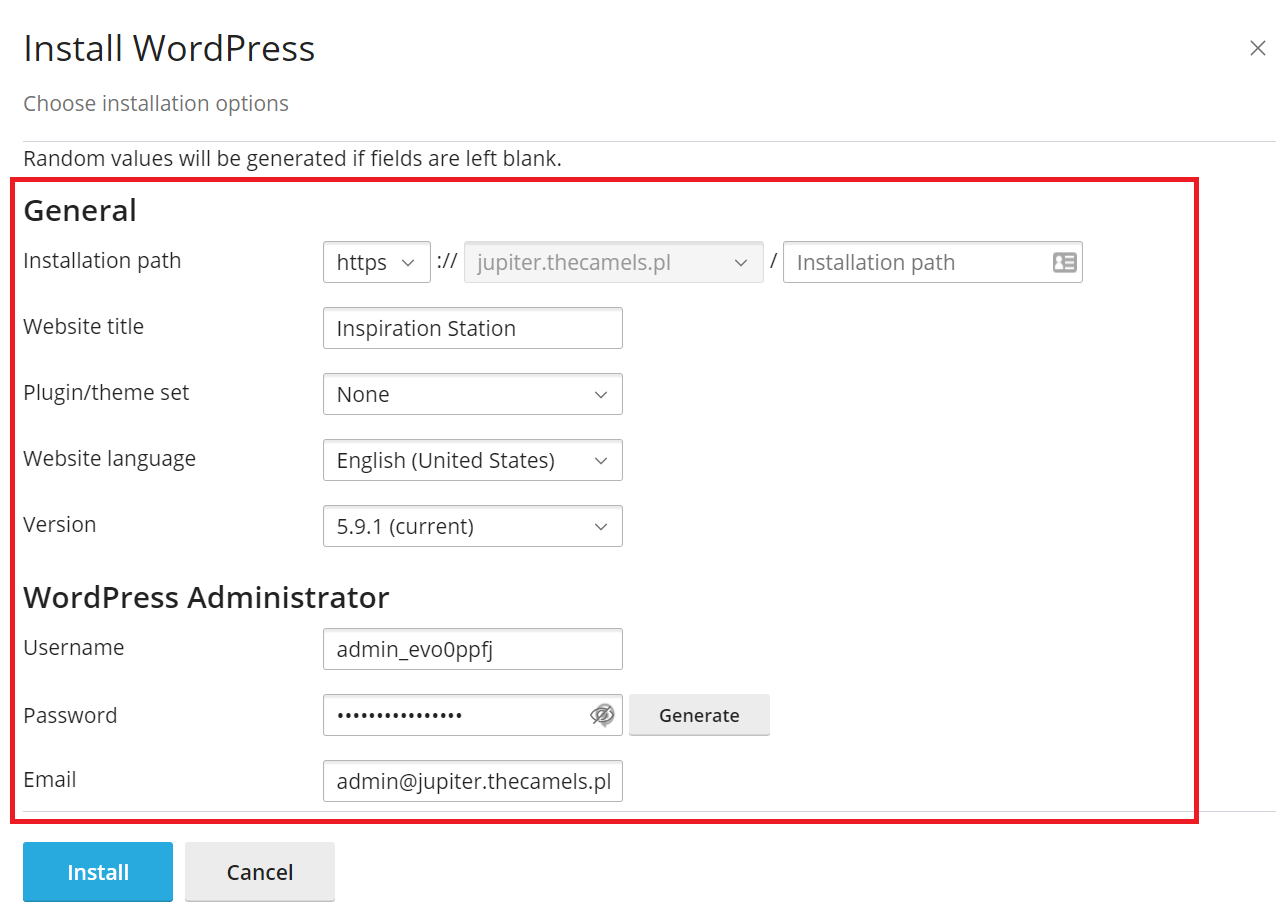
- In the panel that pops up, choose:

- Installation path - from the dropdown, select the domain and if needed type the directory where WordPress should be installed,
NOTE: If the domain or subdomain is not on the list, you have to add domain or add a subdomain before. - Website title - we provide the name of the page,
- Plugin/theme set - we suggest leaving the default value,
- Website language - if you need different version than English, you can change it here,
- Version - you can choose the version of WordPress, but we suggest to leave the default value,
- Username - the name of the main Wordpress user,
- Password - the password of the main Wordpress user,
- Email - let's enter the email address of the main Wordpress user.
- Installation path - from the dropdown, select the domain and if needed type the directory where WordPress should be installed,
- Additionally, we recommend expanding section "Automatic Update Settings":

- Wordpress - leave ad default option,
- Plugins - enabled it,
- Themes - enable it.
- Click "Install" for begin WordPress installation.
Premium version of WordPress Toolkit
It is not possible to enable the premium version of this plugin At the moment. We suggest you use the currently available options.

