To be able to install an SSL certificate, you must first generate it. The whole process will be shown in the points and the video below.
Generating a CSR file (Requesting certificate signature)
- Log in to Your cPanel account.
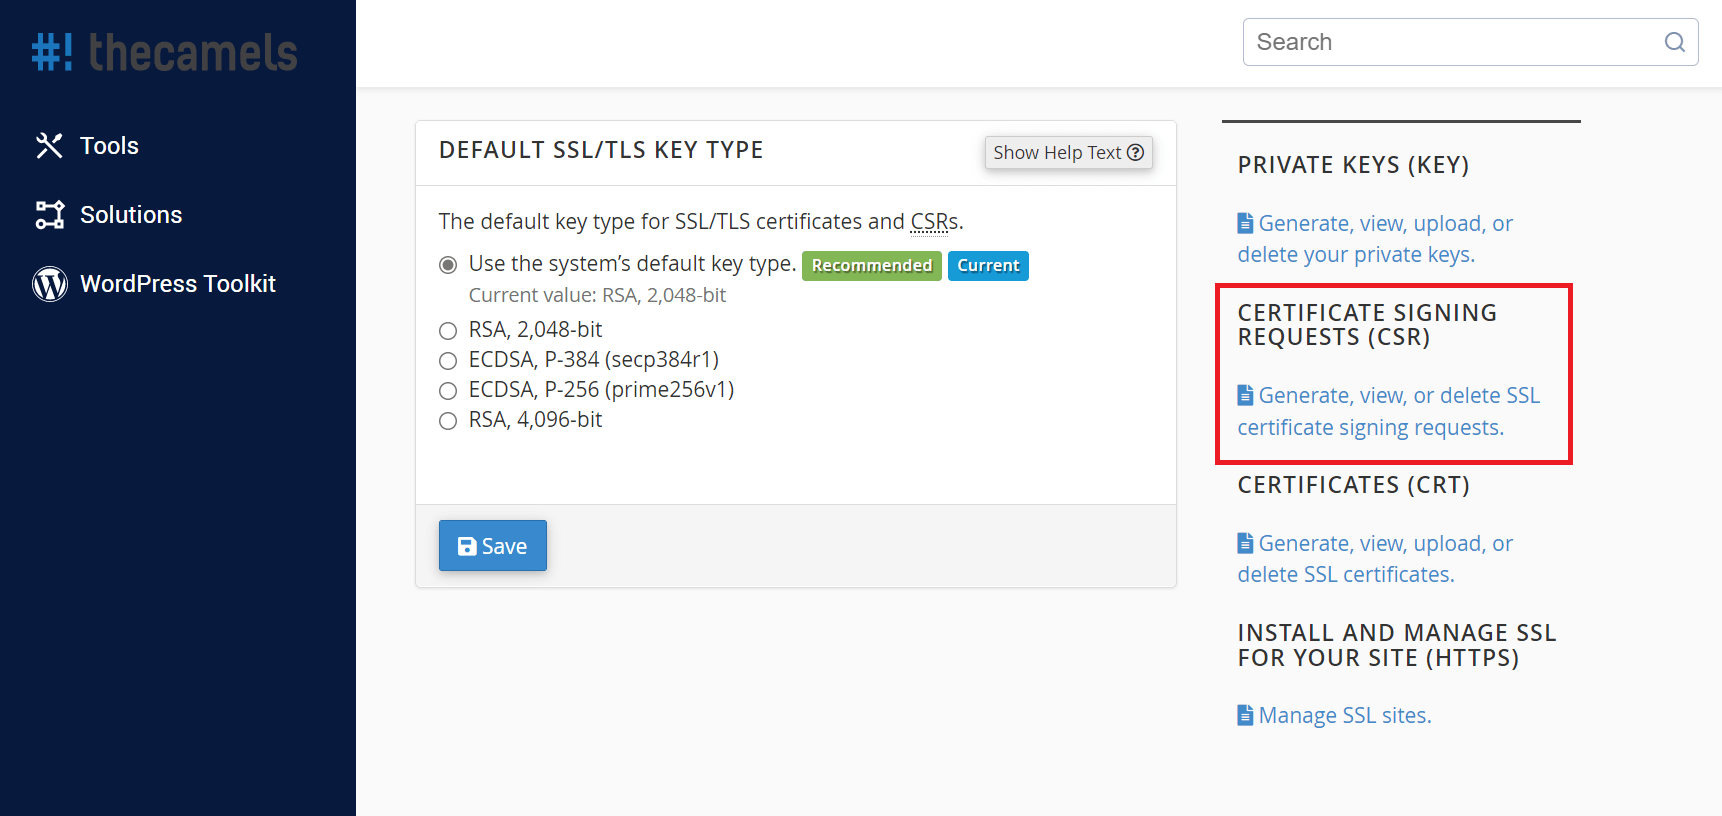
- Scroll to Security section, click "SSL/TLS".

- Click "Generate, view and delete SSL certificate signing request".</br />
- We fill in the following fields, according to the data from the Customer Panel. Names are provided without national characters!
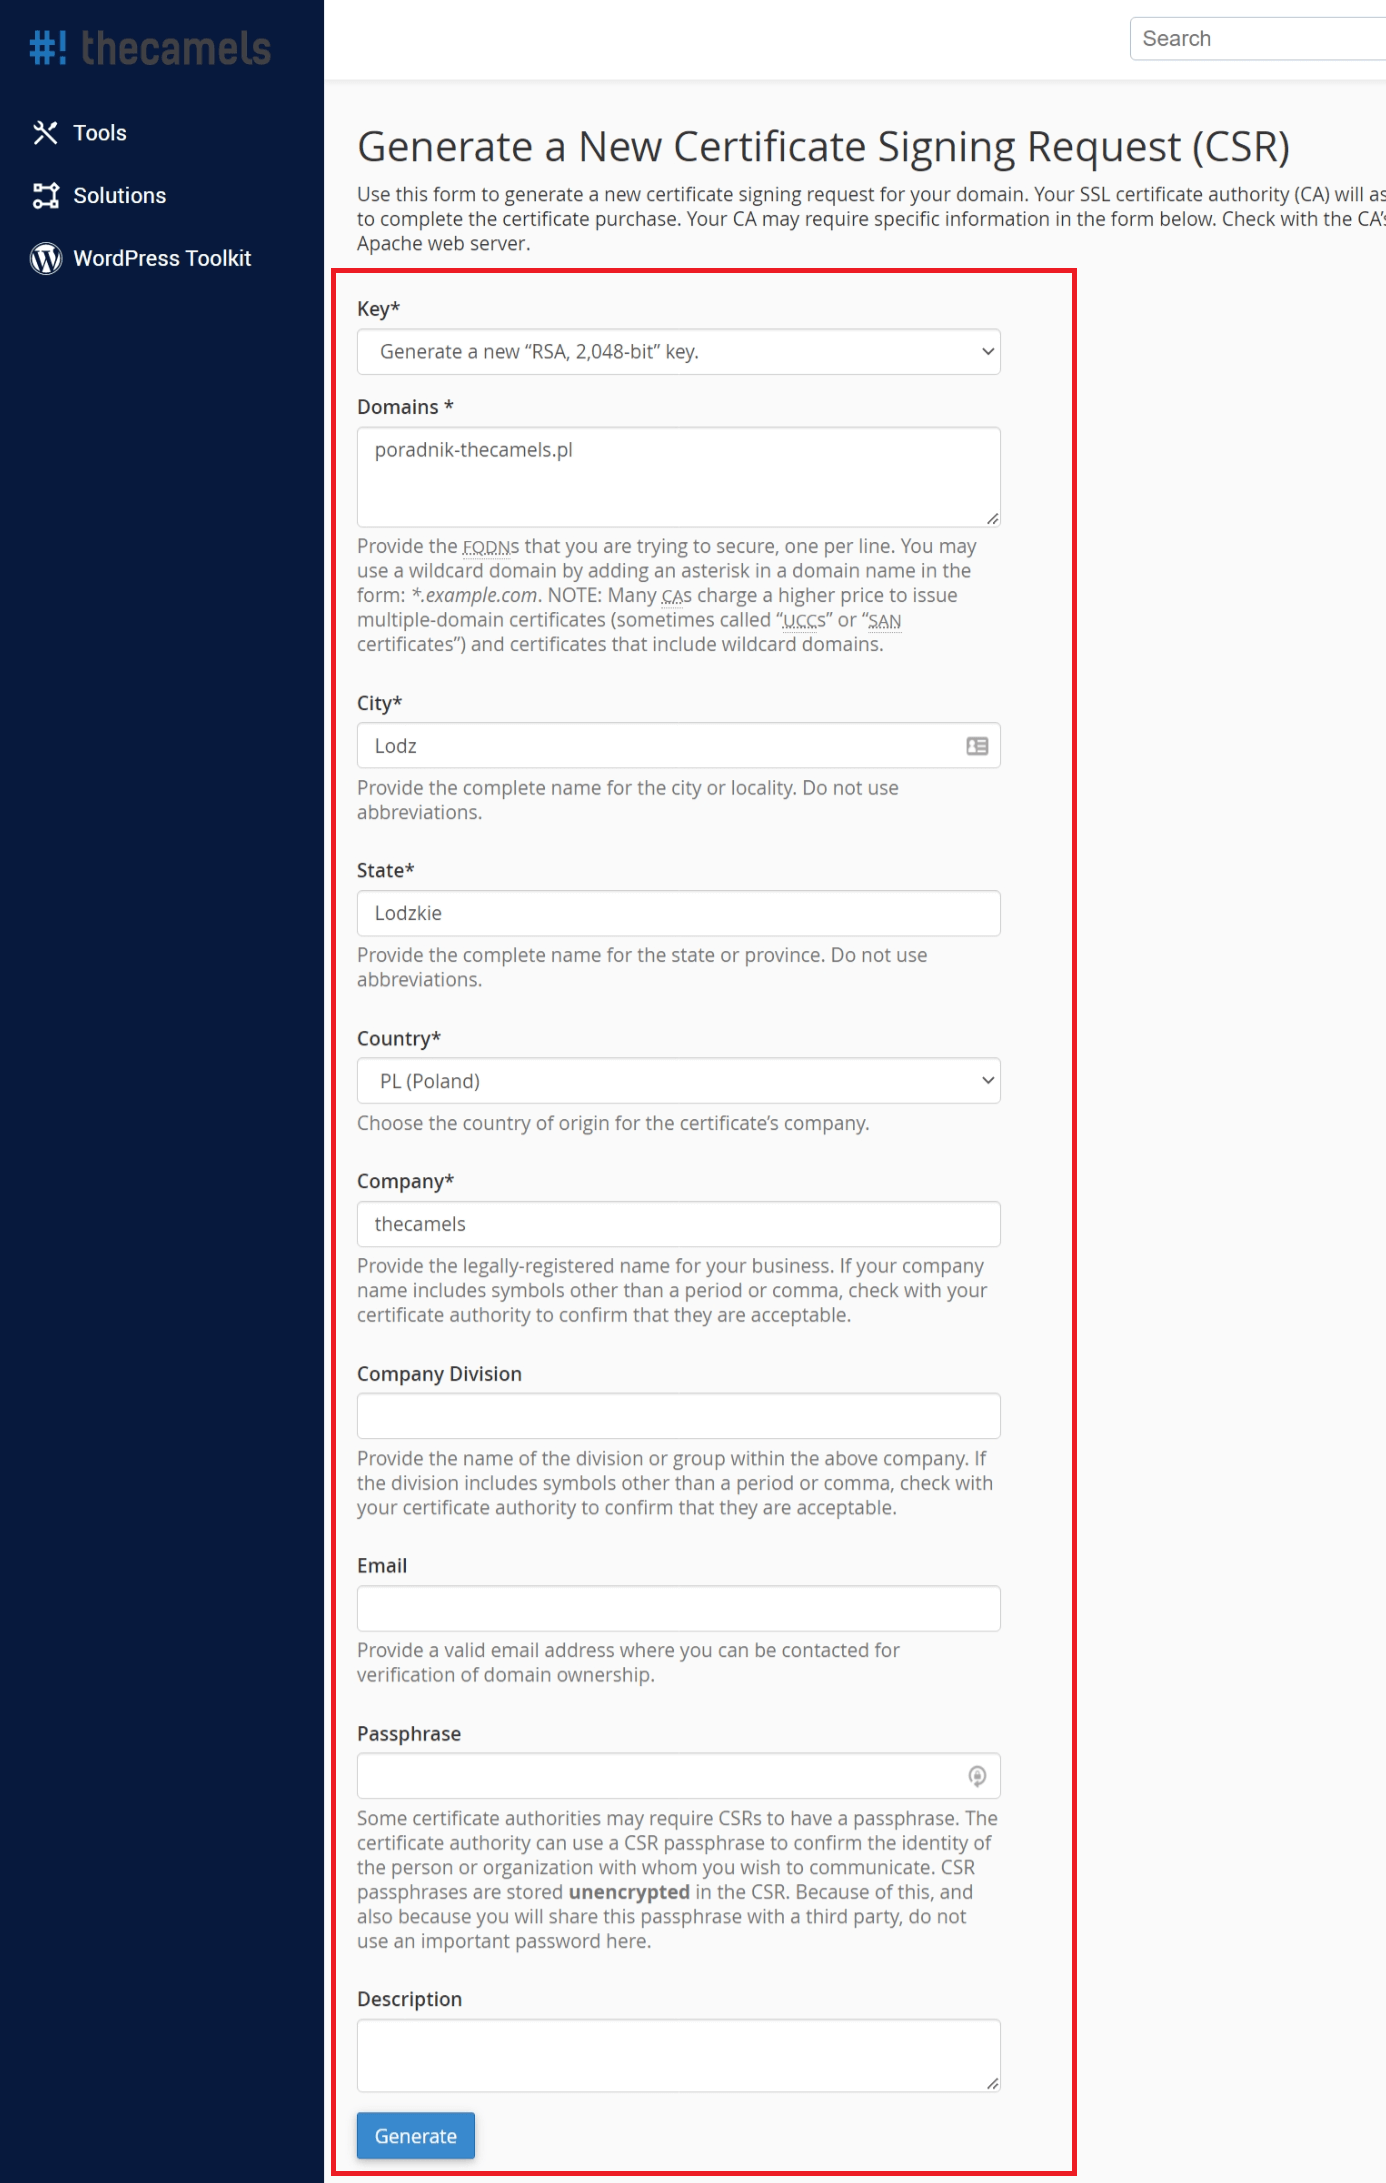
- Domains - enter the domain for which you want to install the SSL certificate. It must be given according to the formula, thecamels.eu. The exception is the Wildcard certificate where the formula looks like this *.thecamels.eu
- City - enter the city,
- The state - we give the province,
- Country - select a country from the drop-down list,
- Company - we give the name of the company, if not given, then we enter this user's name and surname,
- leave the remaining fields blank,
- click "Generate".
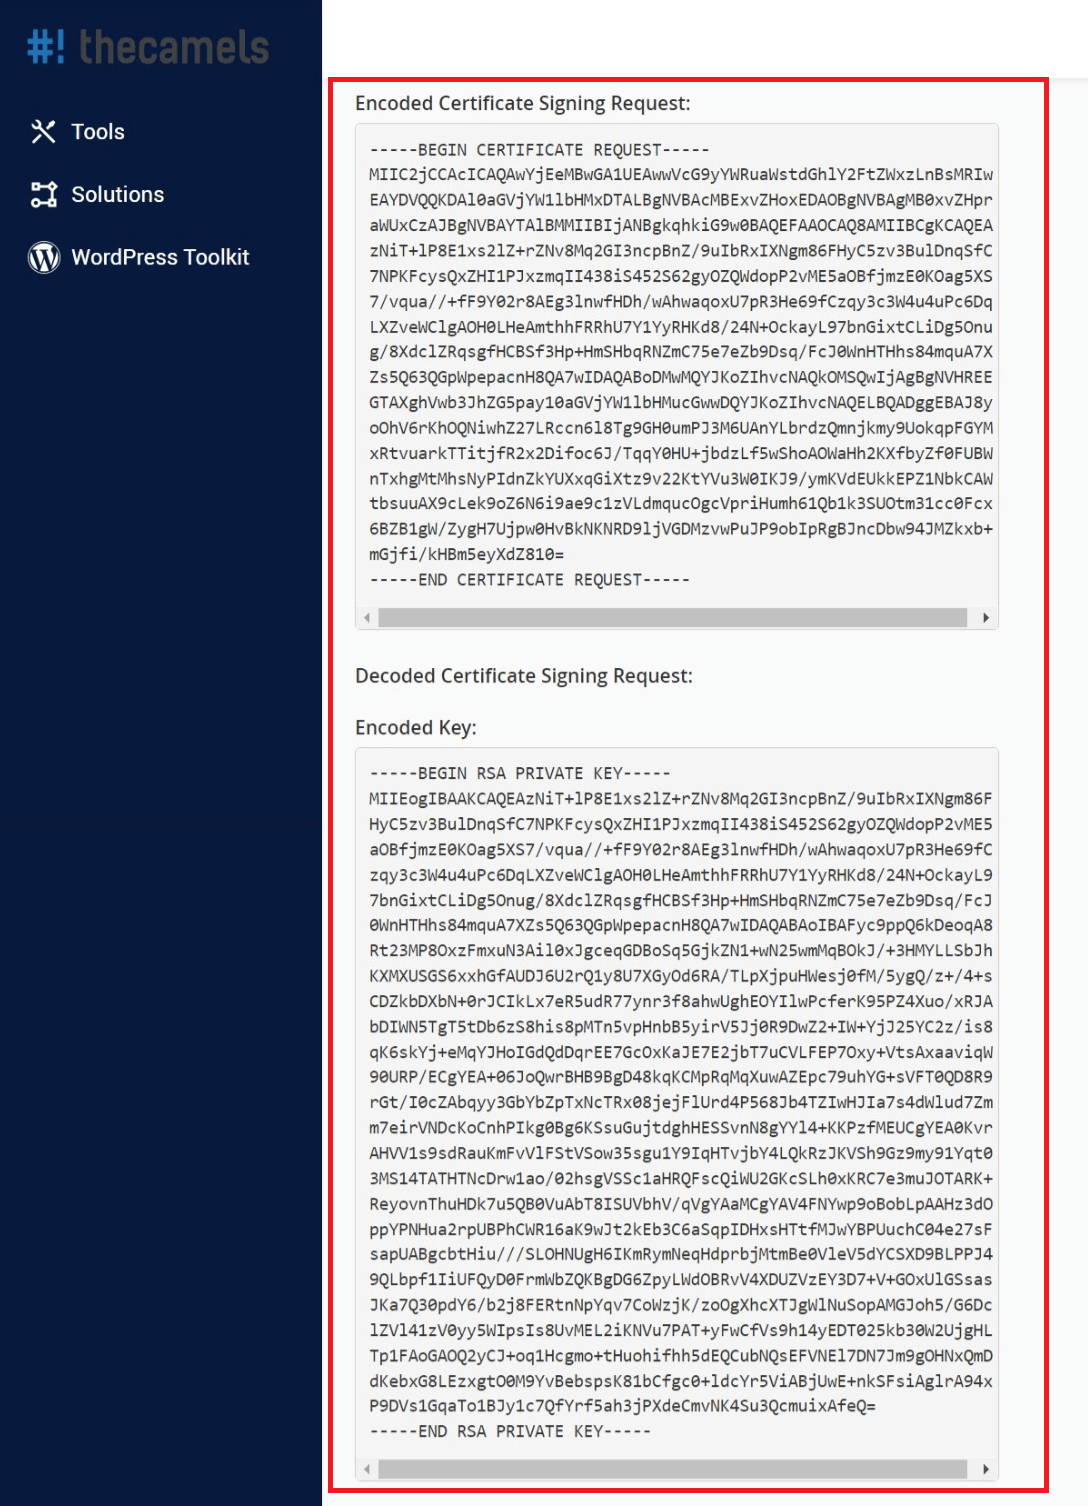
- Copy the Encrypted certificate request and Encrypted key.
SSL certificate generation
- Go back to the e-mail with the instructions, and activate the "SSL certificate generator"
- Fill in the fields below:
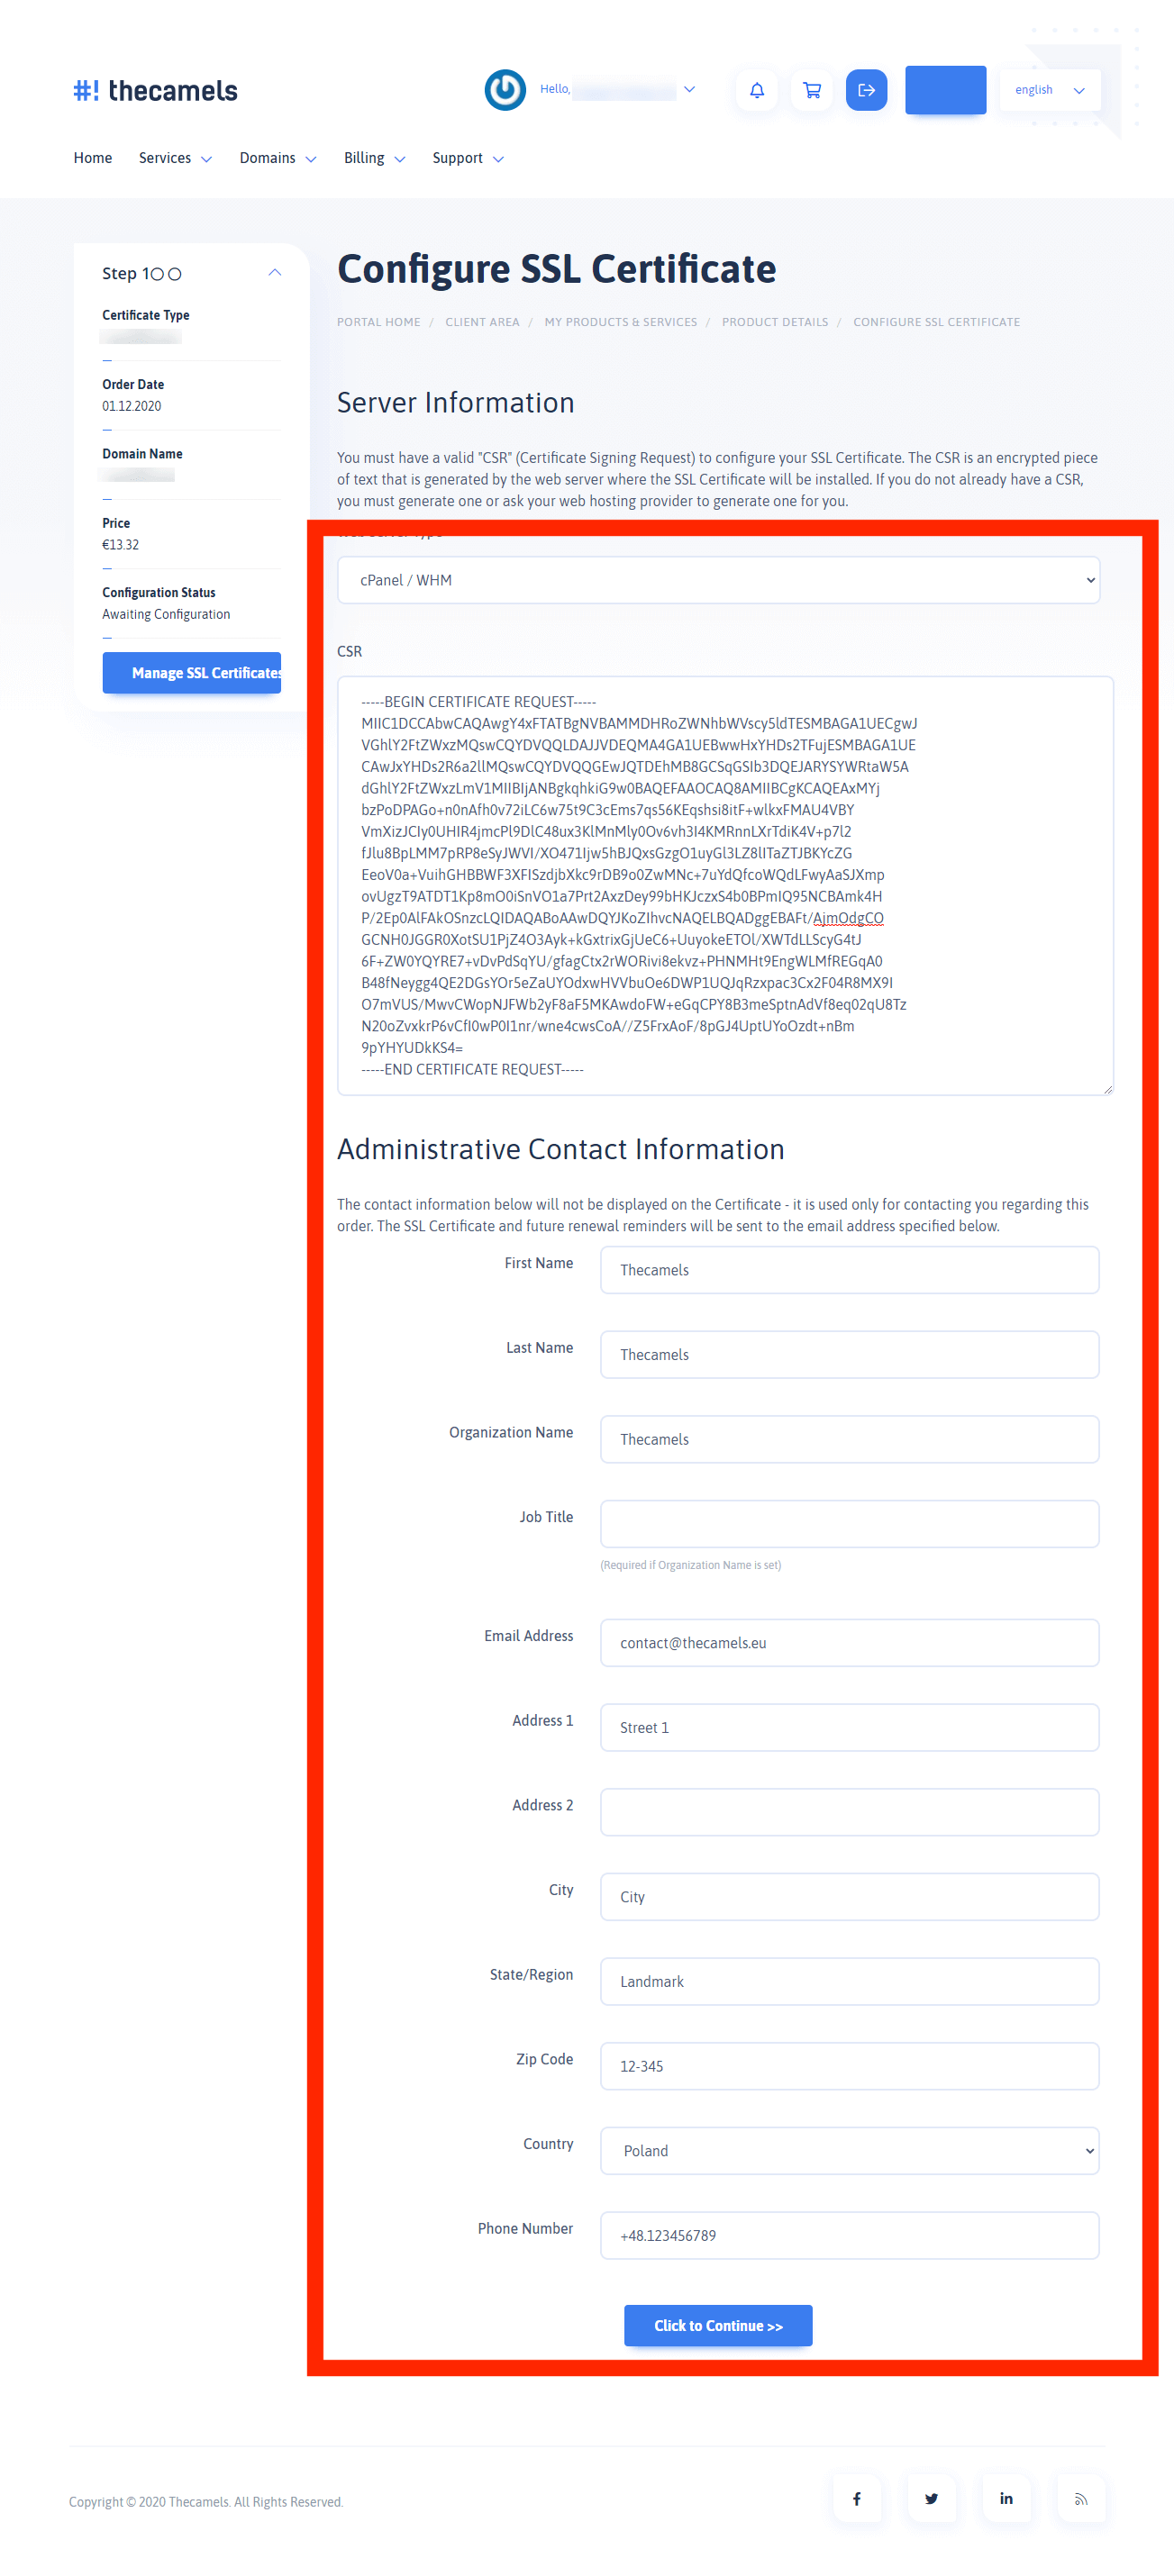
- Web server type - select "cpanel/whm",
- CSR - we paste the Encrypted Request to Sign a Certificate (from the previous section of the guide),
- remaining fields are omitted (the data will be automatically filled in),
- click "Next".
- Select the e-mail address to which the certificate is to be sent and click "Next".
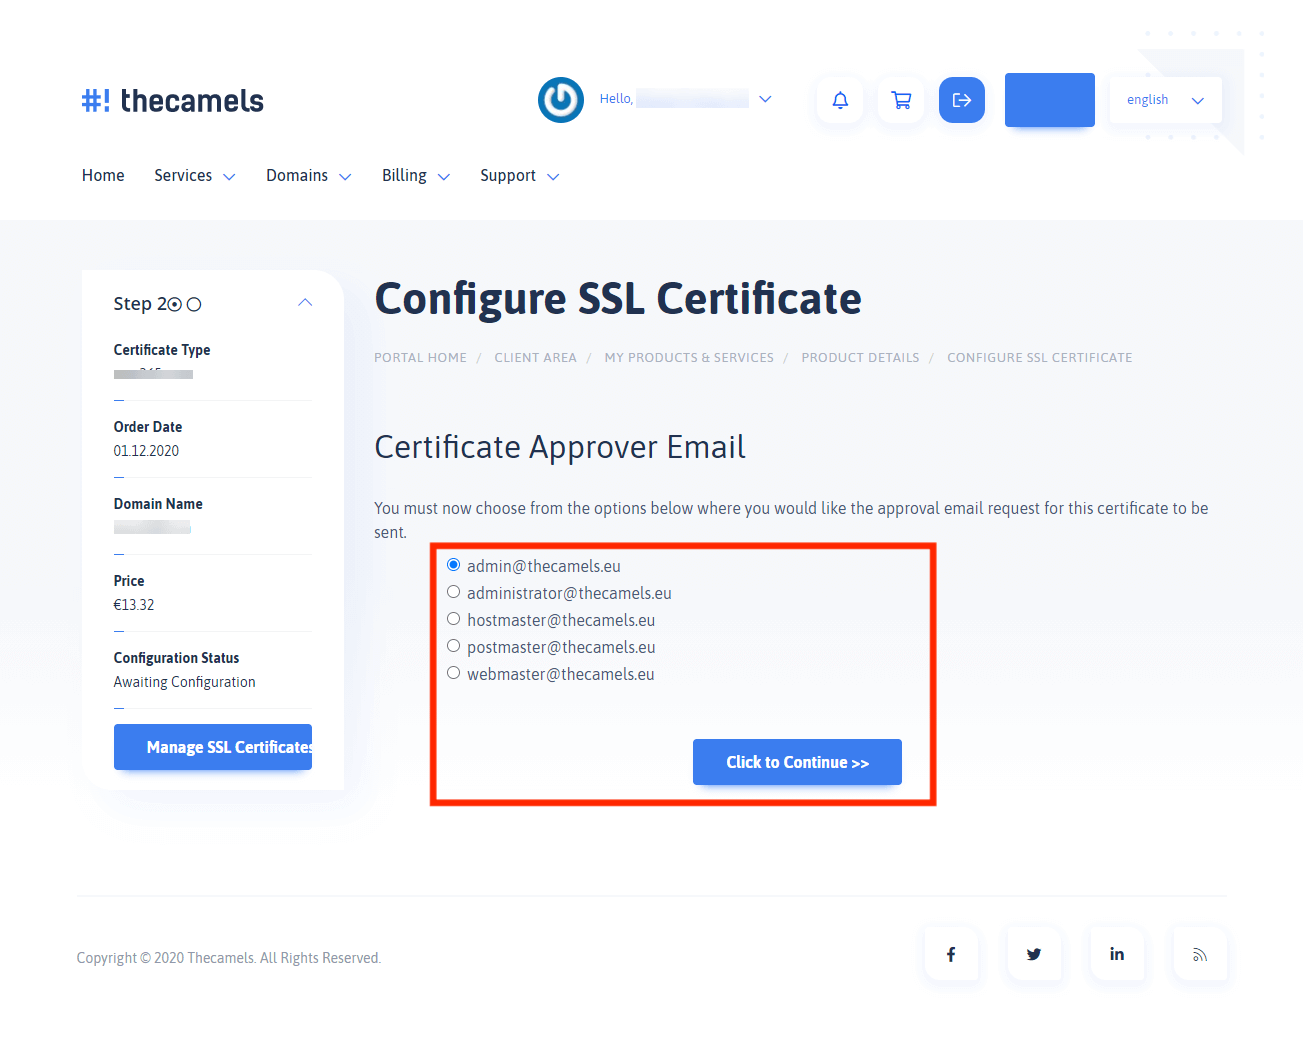
- After a few minutes, an email comes with a verification link and an verification code, which we need to copy
Mail will have a subject similar to this: "ORDER #339063012 - Domain Control Validation for www.thecamels.eu".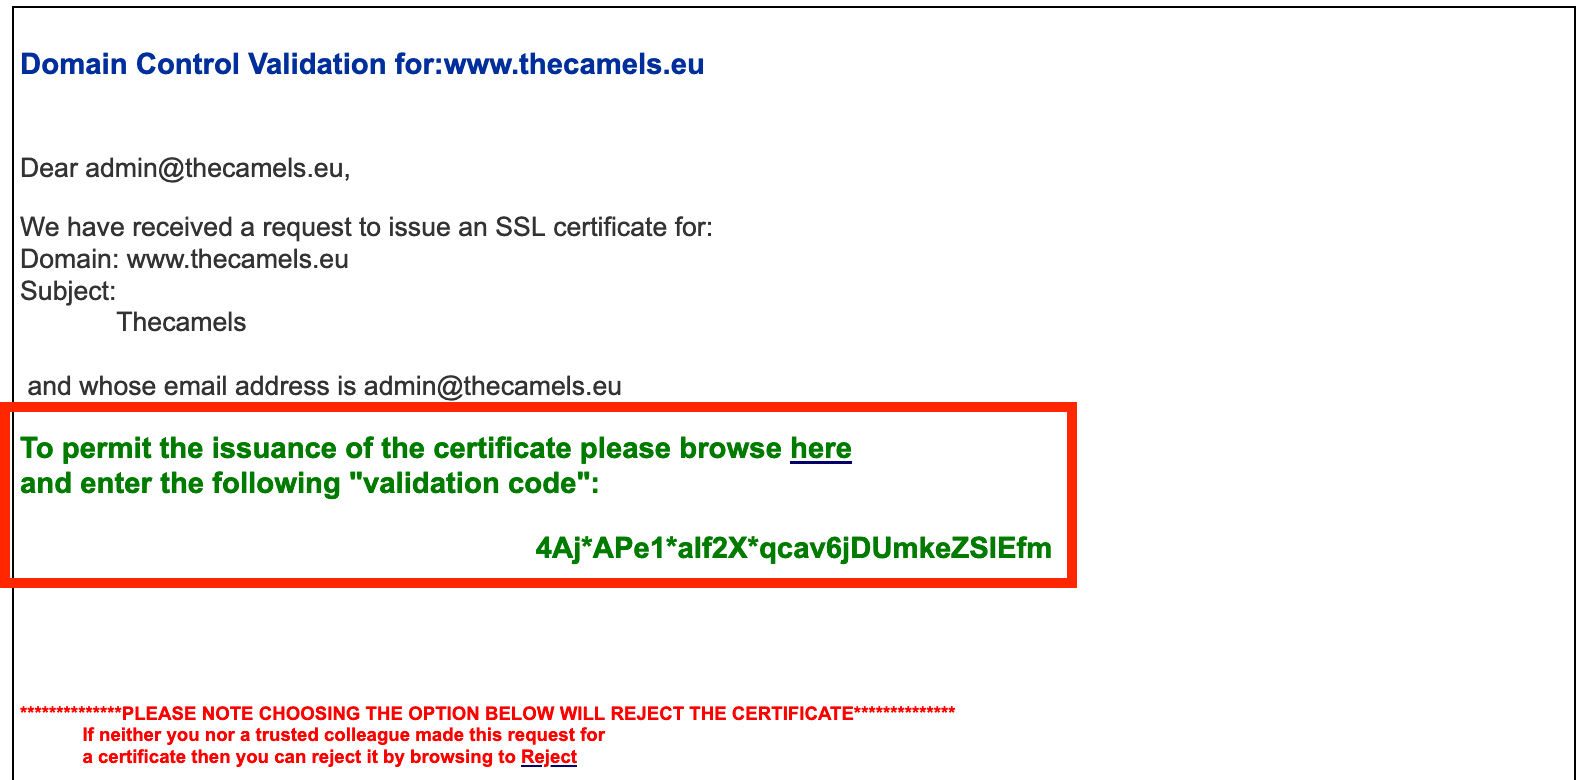
- Paste the previously copied code and click "Next".
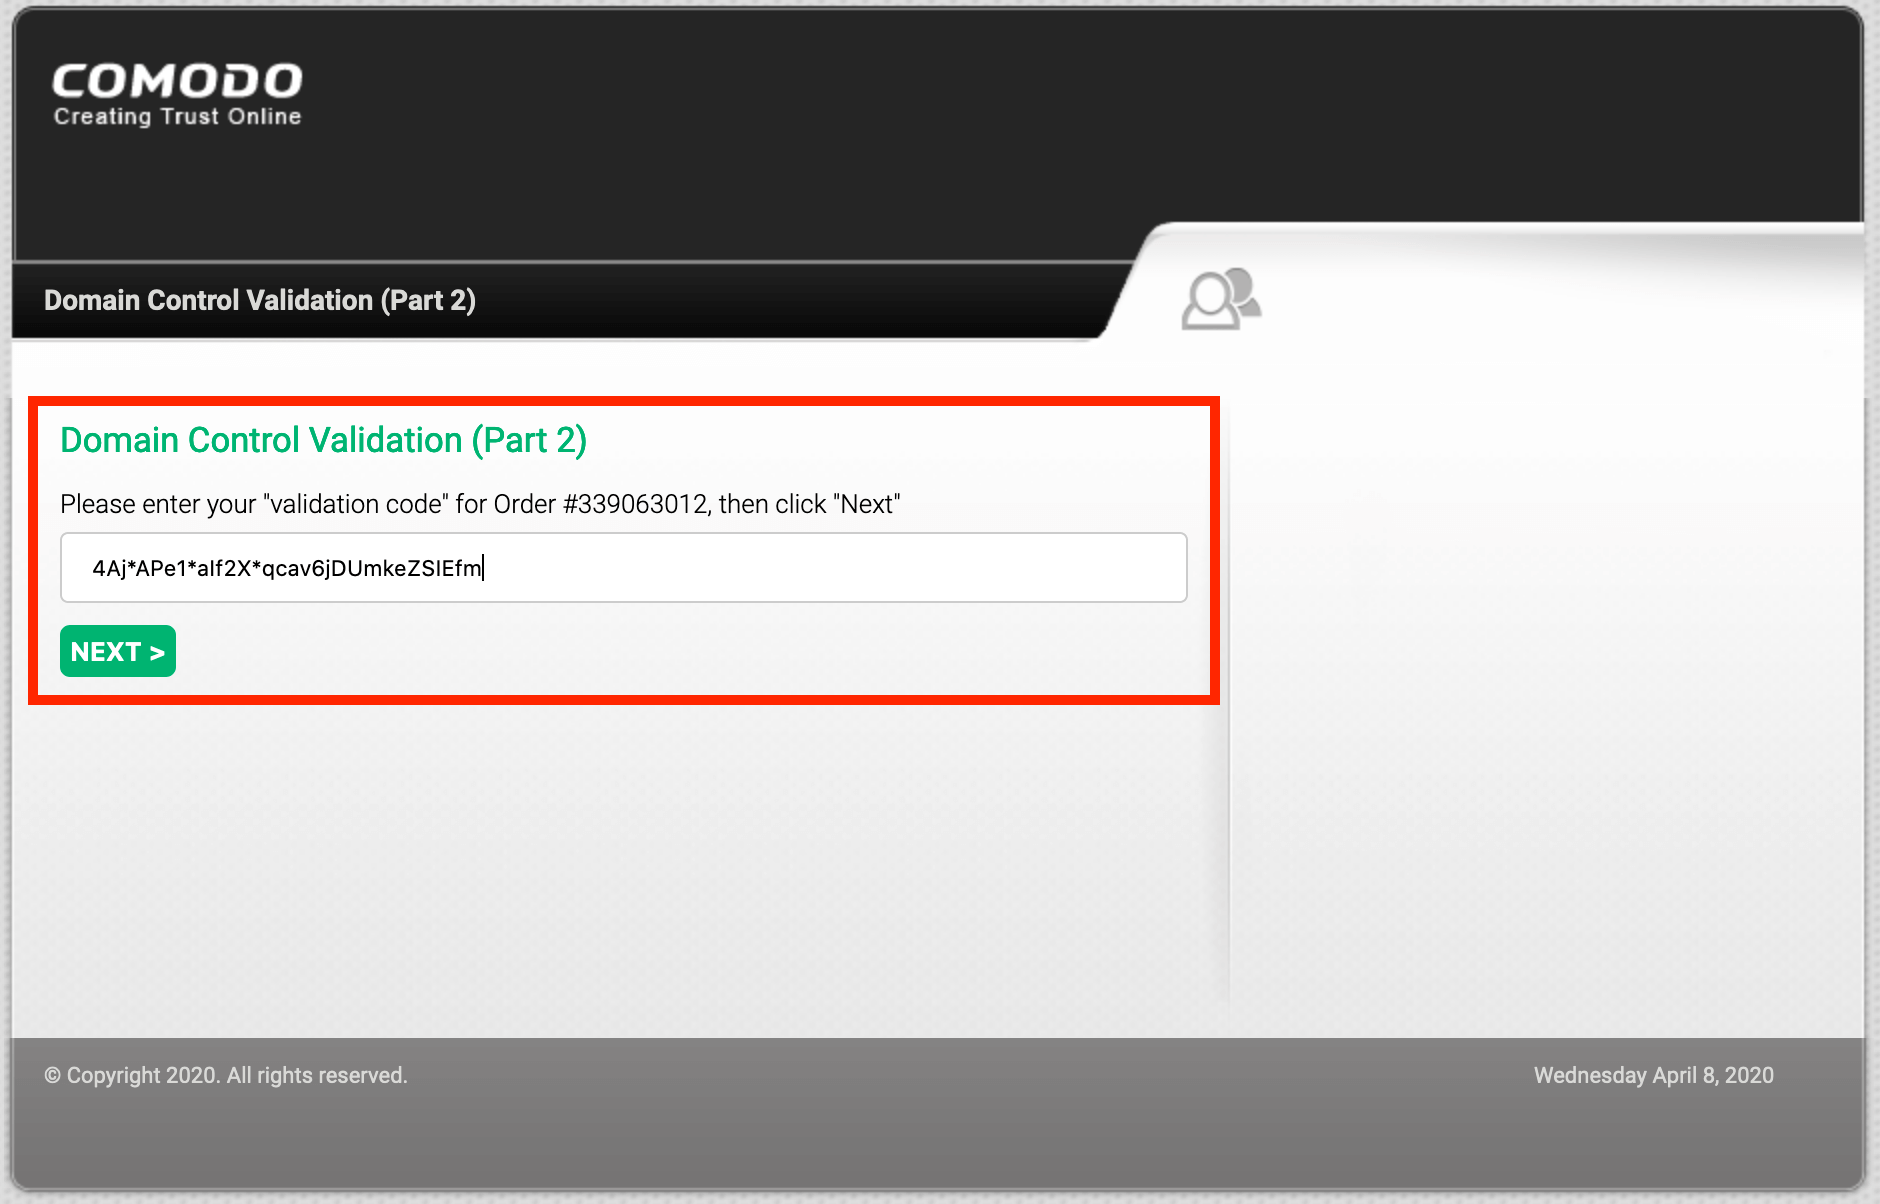
- After a few minutes, an e-mail with the certificate comes in.
Mail will have a title similar to this: "ORDER #339063012 - Your PositiveSSL Certificate for www.thecamels.eu".
Installation of SSL certificate
- When we receive an email with SSL certificate for our domain, we go back to cPanel to Security section, and click "SSL/TLS".

- Click "Manage SSL sites".
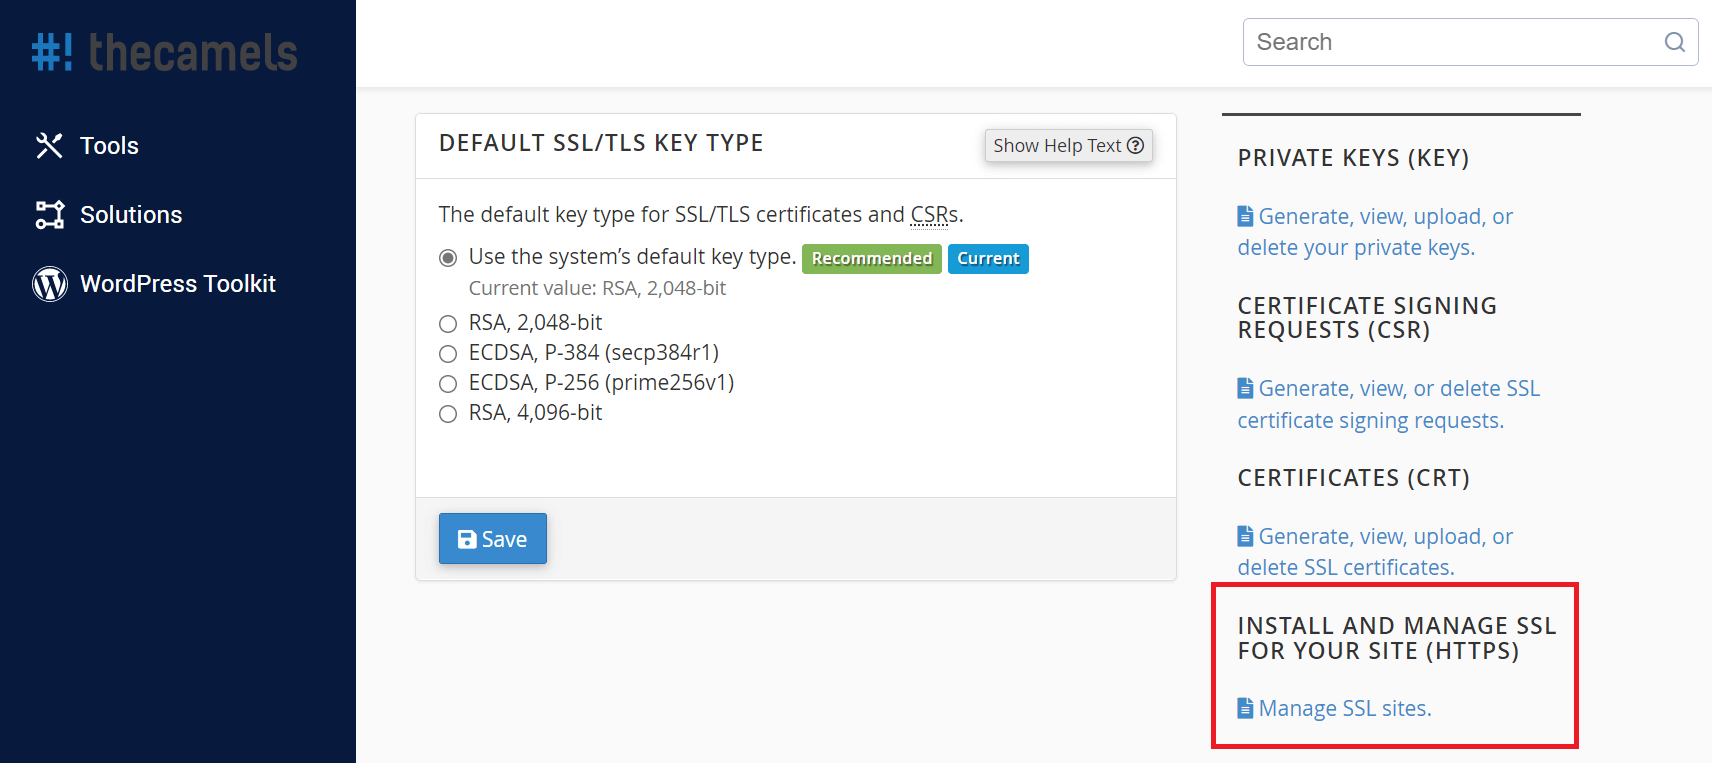
- In the fields that appear, we will paste the strings of characters obtained during the execution of the guide.
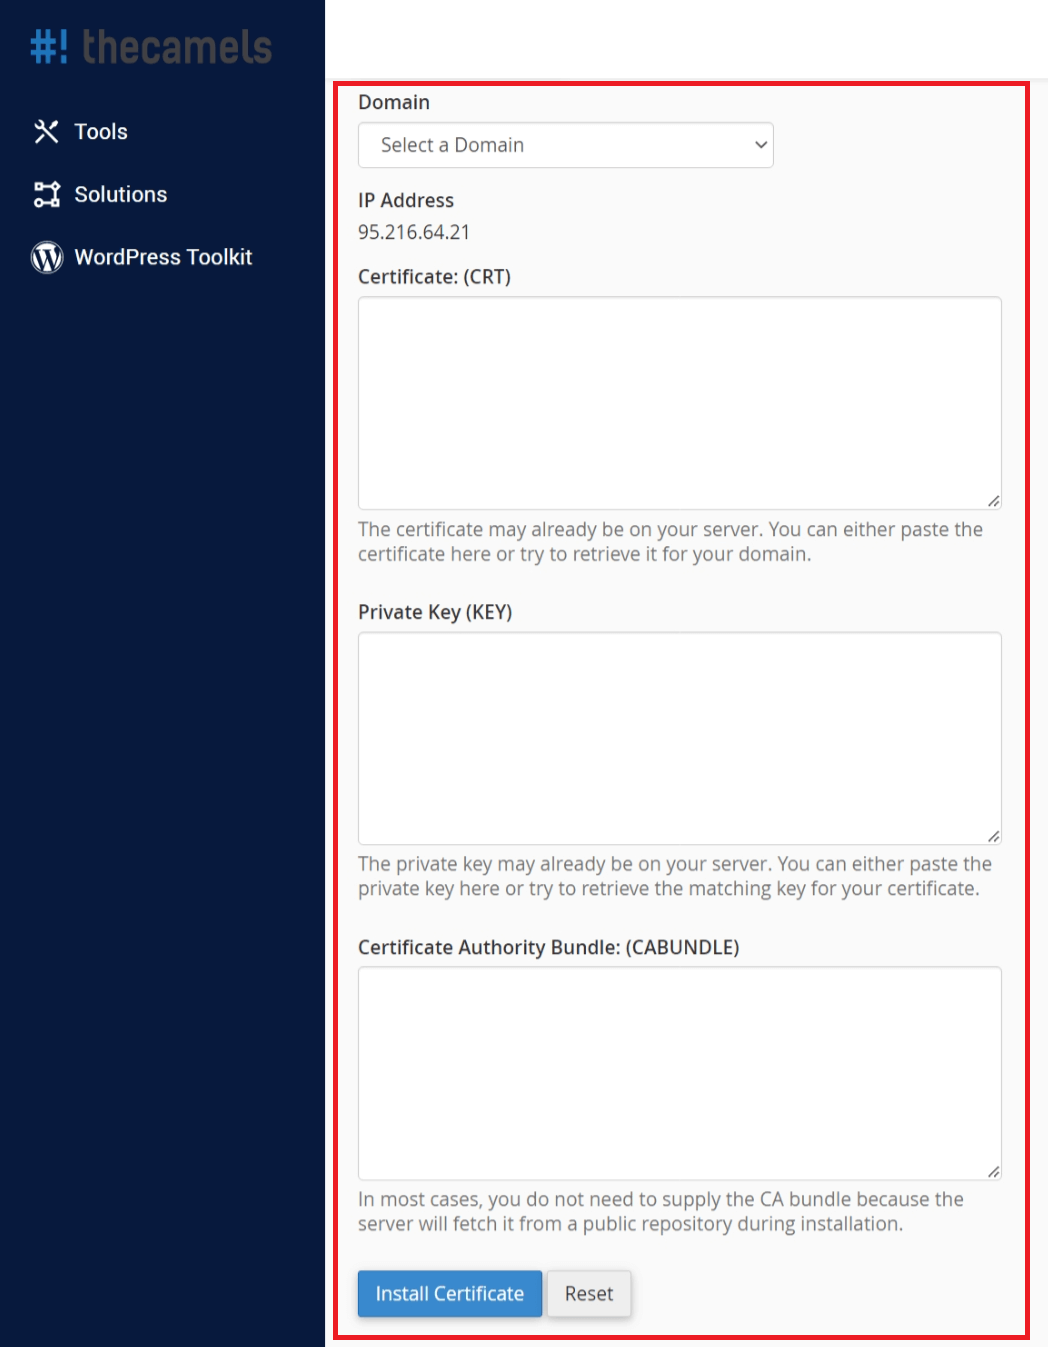
- Domain - we choose the domain for which we install the certificate,
- Certificate - in this field we paste the string of characters that came to us in the content of the e-mail at the end of the SSL Certificate Generation section,
- Private key - here you have to paste the Encoded Key, from the end of the section Generating CSR file,
- Certification Authority Package - we're skipping, cPanel will obtain proper ,
- click "Install certificate" .
In case of any problems with the installation of the SSL certificate you should create a request in the Client Area.

